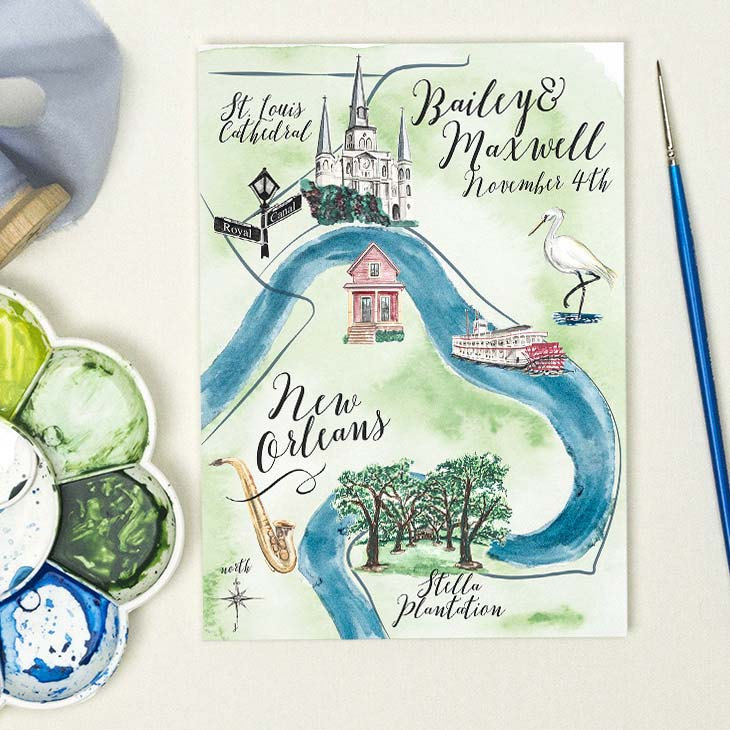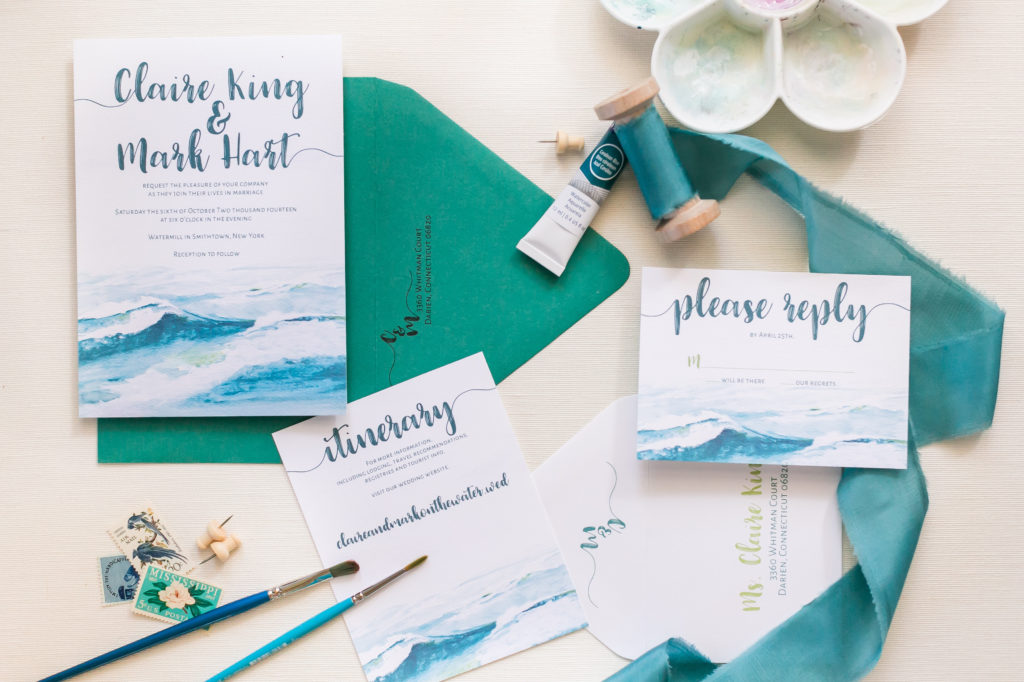
Your wedding invitations are the opening act, the prelude to the grand symphony that is your special day. They set the tone, convey the style, and hint at the magic awaiting your guests. Crafting these invitations is an art, a delightful journey that reflects your love story. Here’s a comprehensive guide and checklist to ensure your wedding invitations sparkle and leave a lasting impression.
The Essentials:
1. Define Your Vision:
Have you already determined your wedding theme and style? Once you decide on a theme that resonates with your personalities (rustic, modern, traditional, whimsical, or??) and a color palette that complements your theme and overall aesthetic, you’re making great progress! Don’t forget to narrow down the tone by considering the mood you want to evoke. Is it elegant, casual, romantic, or festive?
2. Elements of the Invitation:
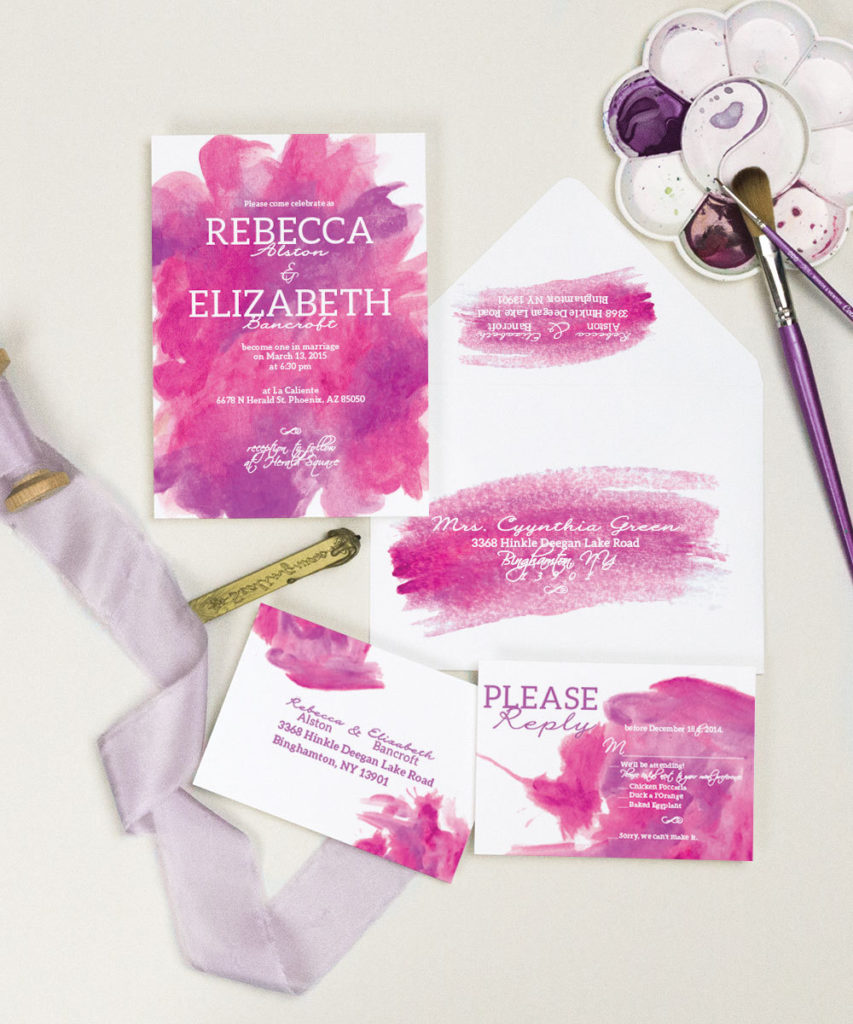
- Invitation Wording: Craft your words thoughtfully, including the who, what, when, and where. Ensure clarity and warmth in the message. And make it fun and happy – you’re getting married!
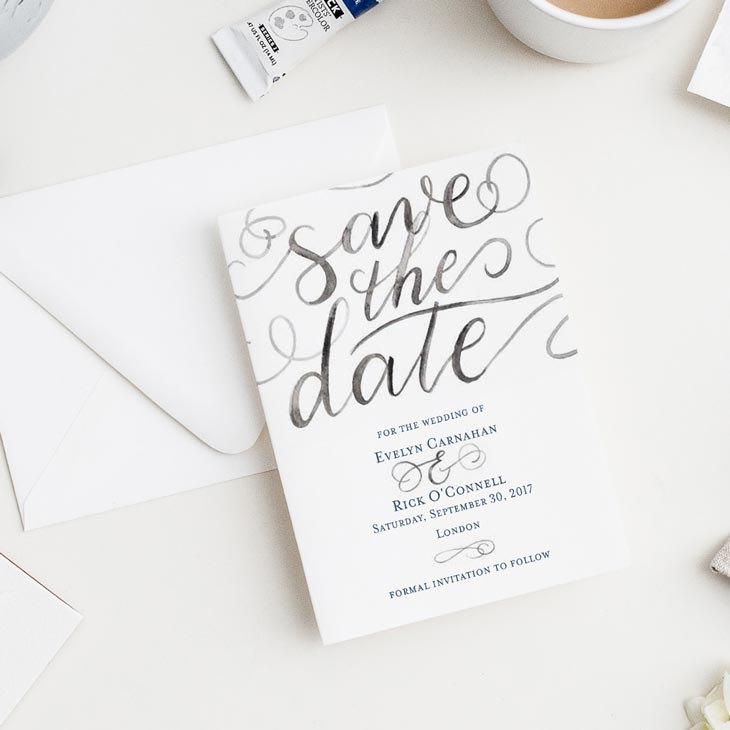
- Design Elements: Incorporate motifs, illustrations, or monograms that resonate with your theme.
- Paper and Texture: Select high-quality paper and consider texture for a tactile experience.
3. Details Matter:
- RSVP Information: Clearly mention the deadline and methods for RSVPs. Are you accepting them online? Are you including RSVP cards with stamped return envelopes?
- Accommodation and Travel Info: Include details about accommodations, directions, and transportation options for out-of-town guests. (And lock in those room blocks while you’re at it!)
- Registry Details: If you opt to include registry information, do so subtly. Though most guests are appreciative for the information so they don’t have to go searching.
The Checklist:
1. Timeline:
- Set a Timeline: Work with your stationery team to establish a schedule for designing, proofreading, printing, and mailing the invitations. Aim to send them out at least 6-8 weeks before the wedding.
2. Guest List and Quantity:
- Compile Your Guest List: Gather addresses and double-check for accuracy.
- Order Sufficient Quantity: Ensure you have extras for keepsakes and unforeseen additions.
3. Design and Wording:
- Create a Design: Work with your designer or use online tools to craft a design that aligns with your vision.
- Wording Review: Review the text for accuracy and etiquette. Quadruple-check dates, times, and names.
4. Printing and Assembly:
- Select Printing Method: Decide between professional printing, DIY, or digital invitations.
- Assemble Invitations: If necessary, gather materials for assembling, such as ribbons, seals, or envelopes. Working with a stationery designer will give you access to all their tools and they can incorporate these special features into your masterpieces!
5. Postage and Mailing:
- Weigh and Stamp: Ensure correct postage for each invitation, especially if they include additional cards or heavier elements.
- Mail with Time to Spare: Aim to send invitations out at least two months before the wedding date. And if you’re planning a destination wedding or know that a lot of guests will be traveling to your wedding, make sure to send out the Save The Date cards with plenty of time for guests to make travel arrangements!
6. Follow-Up:
- Track RSVPs: Keep track of responses and follow up with non-responders politely. Keep a Google Doc you can share with your planner so you know who will be joining you on your special day.
- Final Guest Count: Use RSVPs to finalize guest counts for seating, catering, and other arrangements.
Your wedding invitations are a glimpse into the beauty and joy that await on your big day. Pour your love and personality into them, and they’ll become cherished mementos for both you and your guests. While you’re at it, check out amazing stationery designers on WedBrilliant who can support you and help kick off your wedding perfectly!


 ummer weddings are all about embracing the season and celebrating the natural beauty that surrounds us. Whether you’re planning a rustic outdoor wedding or a chic rooftop affair, incorporating these summer wedding trends will help you create a day that’s as beautiful and unique as you are.